
Get started
Install the plugin
Install Nectenda from Obsidian's community plugins on your computer or phone, turn it on, and open its settings to sign in.
Before you start
- Obsidian 1.13.7 or later, on a computer, phone or tablet.
- A vault to install it in. Nectenda is installed per vault, like any Obsidian plugin.
Steps
- In Obsidian, open Settings and choose Community plugins.
- If community plugins are off, choose Turn on community plugins.
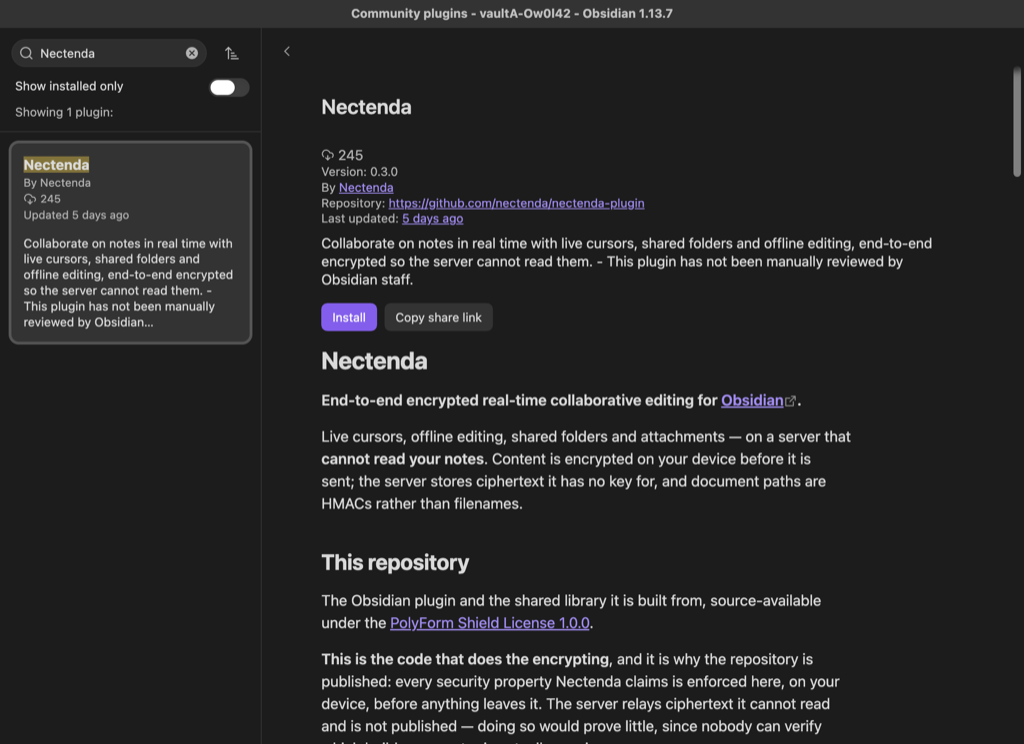
- Choose Browse, and search for Nectenda.
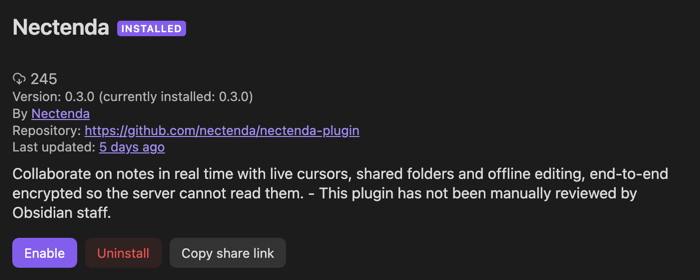
- Choose Nectenda, then Install.
- When it has installed, choose Enable.
If Obsidian is already open on this device, you can also go straight to the plugin's page with this link.
Check the result
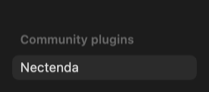
Nectenda now appears in the list on the left of Settings, under Community plugins. Choose it and you see the Connect this vault screen.
Troubleshooting
I cannot find Nectenda when I search
Check that you are searching Community plugins, not Core plugins. If it still does not appear, update Obsidian: the plugin needs version 1.13.7 or later.
Do I need to install it on every device?
Yes, in every vault on every device where you want the shared folders. Each one signs in separately.